
Fermentation
I recently gave a talk to my Permaculture Group on Fermentation and decided to also post it here.

I’ve been fermenting for quite a few years, but there is always something new to learn, so if you’re in the same boat, hopefully, you’ll learn something from this and if you’re a beginner, hopefully this is clear enough to understand how to do some simple ferments. Don’t hesitate to ask if you need something clarified.
Fermentation – what foods are fermented foods and why?
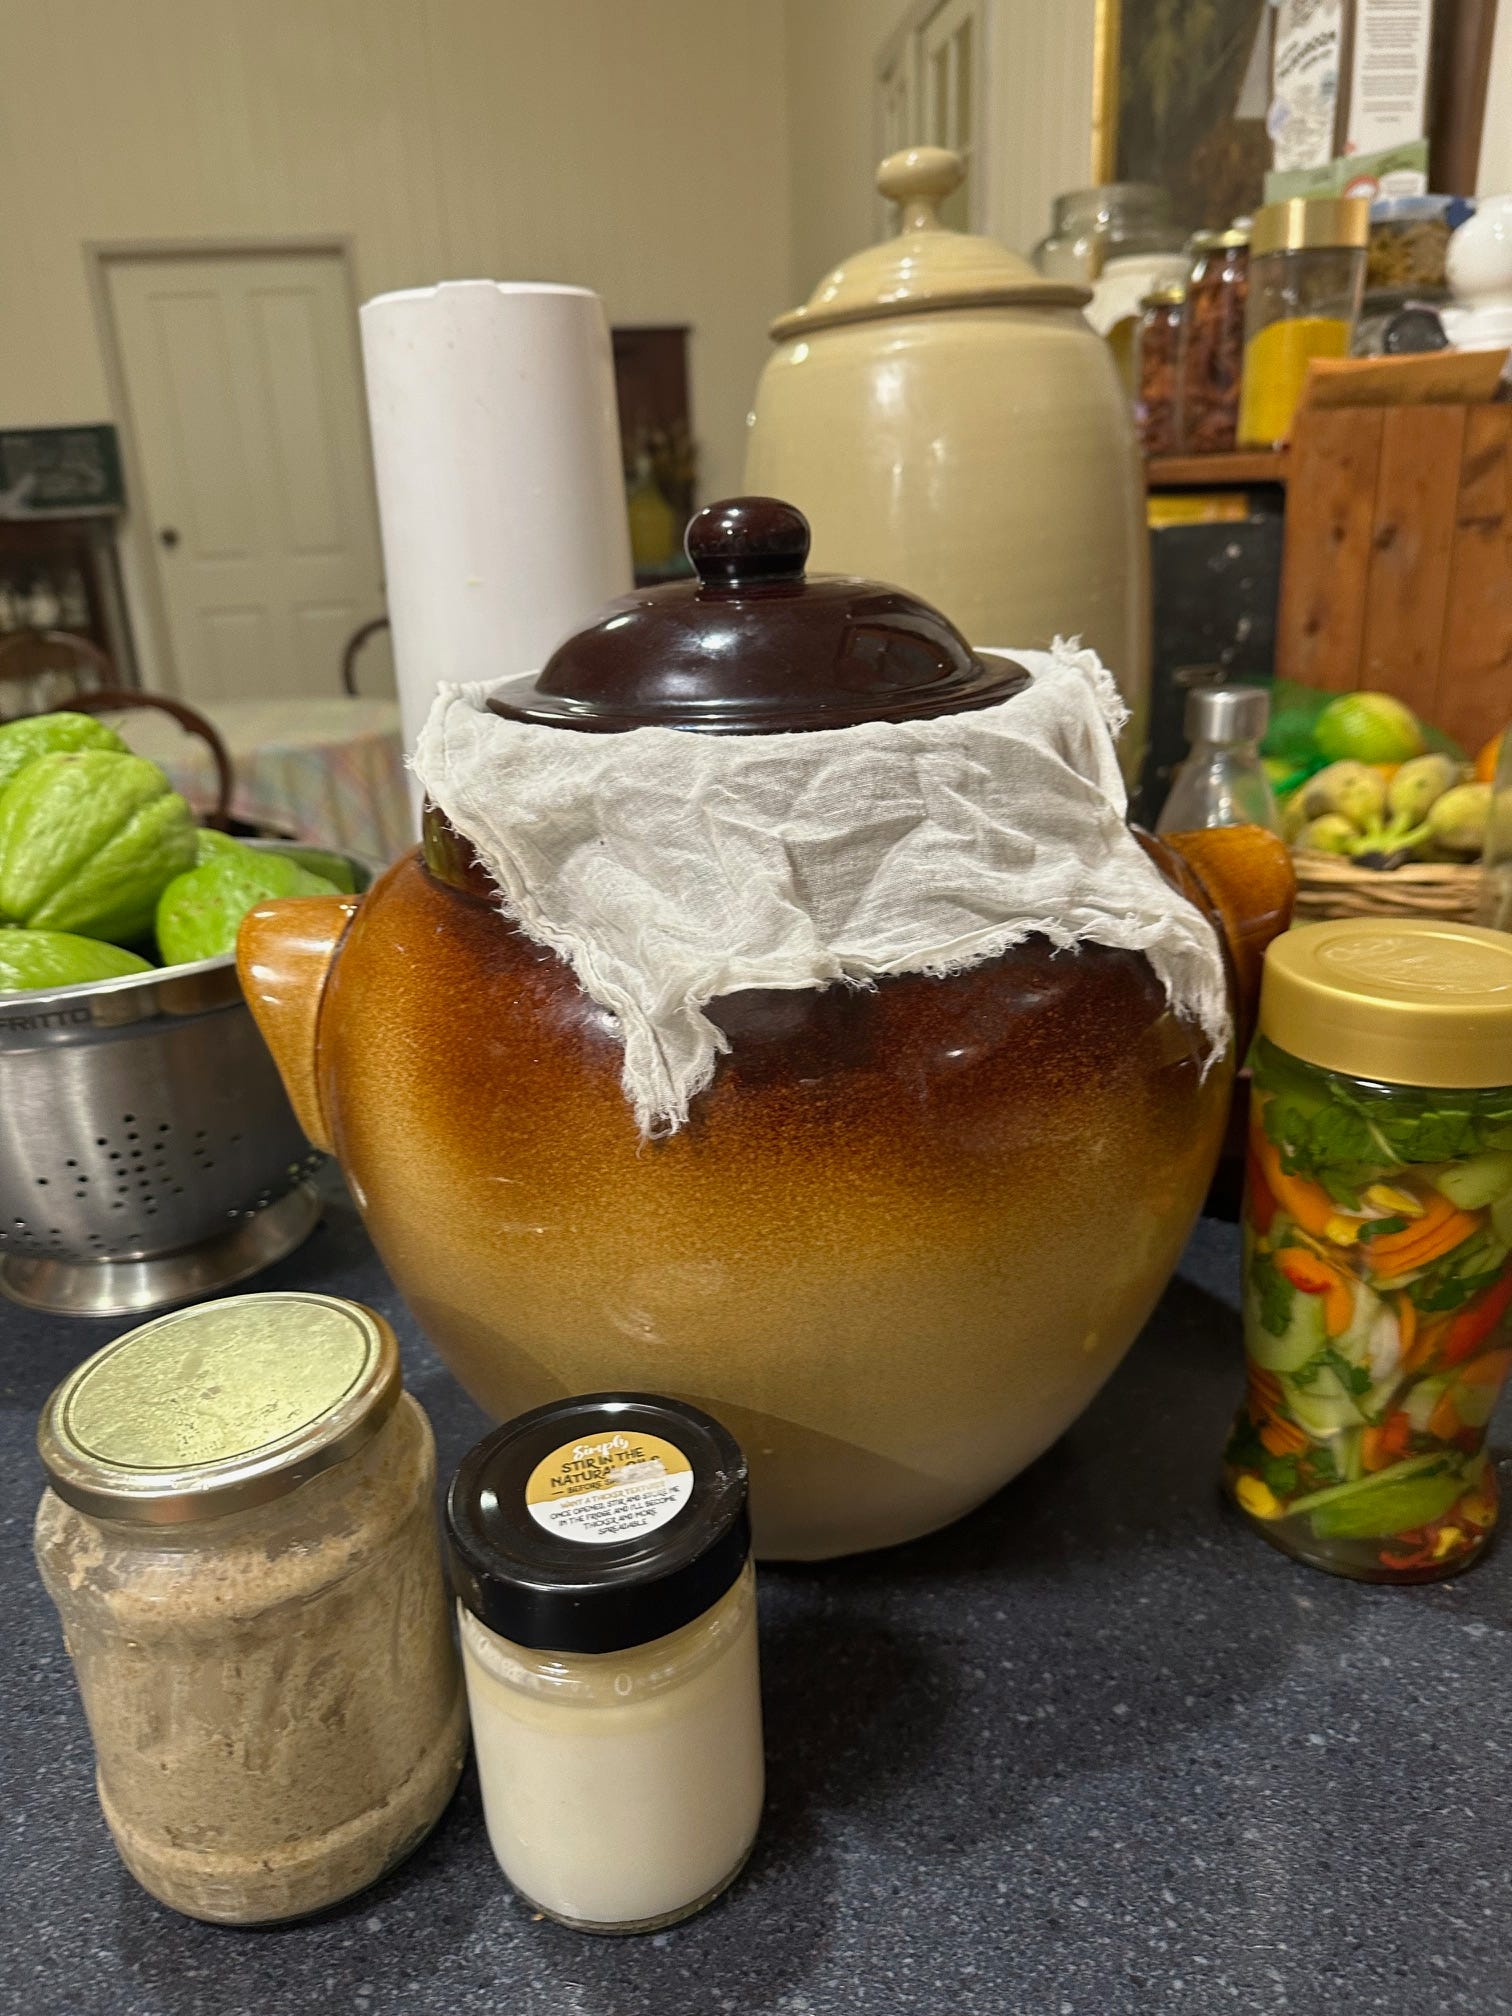
Pictured above: Sourdough starter, clabber, choko kraut and pickled vegetables - just some of the ferment I make!
Fermenting is a way of preserving food – traditional cultures all over the world had some sort of ferment – either a dairy based food, vegetable or drink. Fermenting makes things keep for a little longer than when left fresh. Some cultures would water bath the fermented vegetables to make them shelf stable even longer.
Dairy – cheese, yoghurt, clabber, kefir. A soft cheese can be made from yoghurt (labna), kefir and clabber. Clabber is fermented milk and can only be made with raw milk and is managed a little like a sourdough starter – by using a little clabber in some fresh raw milk each day. Kefir is a “grain” a lumpy culture that is reused each day and can be used in raw or pasteurised milk – it actually makes pasteurised milk healthy by putting biology back into it.
Meat – salami, bacon, ham, pancetta, prosciutto
Drinks – kombucha, jun, kefir, kvas, ginger beer, apple cider, wine, beer and mead
Vinegar, including Apple cider vinegar and apple scrap vinegar
Vegetables – sauerkraut, kimchi and many versions of pickles – gherkins are a well known one, but you can pickle carrots, beans tomatoes, chokos, capsicum, daikon and other radishes.
Sourdough bread.
Sauerkraut and sourdough tend to be the entry level ferments.
Sauerkraut – sauerkraut is fermented cabbage. A traditional kraut contains cabbage and salt. The sliced cabbage is salted and the salt helps to release the “water” out of the cabbage. The cabbage will become soft and have a slightly sour taste. With our exposure to different cultures, we can have slightly different “krauts”.
If you don’t have a fermenting crock, you will need a large jar around 2 litres. Keep an outside leaf from the cabbage to use to weigh down the cabbage, with a rock or other weight.
I usually leave sauerkraut to ferment for about 1-2 weeks, but it’s a personal preference – whether you like it a bit fresher or fermented longer. If it’s in glass, it’s easier to see what it looks like and usually you can tell by the change in colour. But don't be scared to taste test it as it’s fermenting. If using a fermenting crock with the weights, you don’t need a cabbage leaf to cover.
1 cabbage – before finely slicing, keep a couple of the outer leaves intact.
1-2 tablespoons salt – 1 for a small to medium size cabbage, 2 for a large one.
Slice the cabbage and mix through the salt. Leave it for an hour or so and then come back and start squeezing the liquid out. Leaving it allows the salt to start working on breaking down the cabbage drawing the liquid out. It is much easier to squeeze once softened. Squeeze in a kneading motion until it’s very soft and you have a lot of liquid. You need to be able to push the cabbage down under the liquid. Place the cabbage into your crock or jar, pushing and packing it down as you go. Then place a full leaf and a weight on top to weigh it down and keep it under the liquid. I use a large smooth rock that I scrubbed really well (before I got my crock and the weights that came with it)
Choko works extremely well as a cabbage substitute. Coarsely grate or slice on a mandolin. Use some spices to give it a bit more flavour and use 3% salt. Use the same method as above. Choko kraut ferments in 3-5 days.
Brine Pickled Vegetables – use a 3% brine – 3% of the water in kg or litres – 1kg water = 1 Litre of water. 30g pure sea salt to 1 Litre of water. Virtually any vegetable can be used – beans, snow peas, carrot, celery, cauliflower, broccoli, cucumber, capsicum, choko, onion, radish – either individually or a combination.
All vegetable ferments should be kept in the fridge after the product is fermented to your liking. This slows the ferment down, but it will continue to ferment and will become softer as it ages. It is still okay to eat, but you will find there’s a stage that you like it best at.
Use whatever vegetables you have available from the following list, In any combination or even on their own.
Carrot
Daikon or other radish (red radish will give a reddish tinge to everything)
Beans
Cucumber – dill works very well with cucumber – seeds or fronds.
Capsicum
Cauliflower
Broccoli
Choko
Onion or spring onion - for flavour mostly
Garlic, ginger or turmeric can also be added for flavour
Spices some of these – mustard seeds, celery seeds or celery leaves, peppercorns, coriander seeds, cumin seeds, fennel seeds or dill seeds
Black tea leaves, grape leaves, or a horseradish leaf.
Chop vegetables into chunks, strips or slices. Add some spices. If using baby cucumbers, leave whole.
Add a teaspoon or two of black tea leaves or a grape leaf or horseradish leaves – the tannins in these things help the vegetables to keep their crunch. If you only have a black tea bag, empty it out into the jar. Green tea should also work. If using grape/horseradish leaf, put one in the bottom and one on top.
Dissolve your salt in water before adding to the jar. Make sure you have about 2cm head space in case it bubbles up.
Stir this every day to make sure that all the vegetables get some time under the brine. Leave it somewhere where you can keep an eye on it for 3 - 5 days – it might be only 3 days in hot weather. Taste test.
Refrigerate as soon as it’s fermented. The water will go slightly cloudy – this is an indication that it’s ready.
Fermented Tomatoes
There are a few different ways to ferment tomatoes. All these ferments take around 3-5 days, depending on the temperature. They could become a little fizzy, this is fine. Tomatoes have a tendency to over ferment quite quickly due to the amount of sugar in them, so they may not last as long as other ferments and should be stored in the fridge. Most tomato ferments create enough liquid without the need to add extra water/brine, except the cherry tomatoes in brine mentioned further on.
Passata Style - Weigh and chop the tomatoes. Mix in 3% salt and then squash into a jar, leaving a few centimetres head space. You should have enough juice to cover everything, but just give them a stir each day to make sure the top ones get mixed back in. Use this in cooking. If you make too much and don’t think you’ll use it before it over ferments, you can water bath it to preserve it long term.
Another way to do it if you have a mix of large tomatoes and cherry tomatoes – chop the large ones, and leaving the cherries whole – place the cherries into the jar first and the chopped tomatoes on top.
You can add flavours/spices in with these if you like. Garlic and herbs work well.
Fermented salsa – To chopped/crushed tomatoes, add in some capsicum, garlic, chilli, red onion or shallots, lime juice, coriander and/or fresh oregano to the diced tomatoes.
Cherry Tomatoes in Brine – remove the stems from cherry tomatoes and place in a jar with the following optional things - peppercorns, celery leaf, shallots, garlic and then make up a 3% brine and pour over. Use in salads, on pizza or in cooking.