

Cheesemaking

Hello all and welcome to my Newsletter where I write about our farm and garden and the food we grow and the food we eat. Kim and I live a permaculture lifestyle and I like to share this through a food lense, because I love food!
I’ve been back home for two weeks now and am starting to think about all the cheese I want to make over the cooler months. I find it challenging to make cheese when it’s hot and humid, so winter tends to be the best time of the year for it. We currently have two German wwoofers helping us and they’re keen to learn about cheesemaking.
They enjoy milking as well. I sit on one side of the cow (the off side, so no leg rope for me), they take turns to sit on the near side, where they do get a leg rope to prevent the cow from putting her foot in the bucket! It doesn’t prevent her from moving though, so it’s always a challenge to make sure I can move the bucket quickly if she does. When I milk by myself, the bucket sits between my knees so it’s fairly safe. Co-milking means the bucket sits on the ground directly under the udder (yes, very close to the back legs) so there’s a higher risk of kicking the bucket or putting a foot in it!
I asked the wwoofers today if they wanted to make cream or cheese tomorrow after milking, and they chose cheese, so icecream will need to wait another day or so. So far we’ve made mozzarella, fresh curd cheese, ricotta and haloumi. The ricotta is very slow ricotta, where you allow the whey to mature and acidify naturally for a day and then the next day, bring it to the boil and then strain the lot very slowly through cheesecloth. This is in David Ashers book, Natural Cheesemaking and has more nuance to it, so if you want to make it and don’t have the book, comment or email and I’ll give you more detail. I love doing this, because you get two cheeses for the price of one!
The mozzarella is also a slow one, where you allow the curd to acidify naturally so there is no need to add citric acid. It takes a little while and I tend to get impatient, especially when I’m also planning on using it for pizza the same day, which I was the other day. They were delicious pizzas too!
The fresh curd cheese I make all the time. It’s the cheese I make when I have too much milk and not enough time to make a real cheese. As soon as I come from the cow yard and strain the milk, I pour whatever amount I have spare into a bowl and add some clabber culture. If you are familar with David Ashers natural cheesemaking, he uses kefir, however I prefer clabber as it’s completely homemade and doesn’t rely on too much to keep it alive. If I kill it, I just start another one. You can only start and use clabber if you have access to raw milk. Kefir, you can use any milk, clabber has to be raw. To start a clabber culture, you leave a jar of raw milk on the kitchen counter for a few days - sometimes 2, sometimes 4 days are needed. Once the milk is clabbered (soured and set as a curd), you just add a teaspoon full of the previous days clabber into fresh milk. This is what I use for just about all my cheese making now.
Back to making my fresh curd cheese. I add a couple of spoonful’s of clabber to a bowl of milk (usually around 4 litres) and leave it sit for about half an hour. Then I add the rennet, which has been mixed in some water first. The rennet starts to set the curd immediately so if you mix it in water first, it’s easier to disperse through the milk. For those that don’t know much about cheese making, the clabber culture is used to acidify the milk, which makes it cure and last longer. It also flavours the milk and the resulting cheese. The rennet sets the milk into a firm jelly like curd, which is what you cut when you make cheese, and the liquid that comes out of the cut curd is the whey. Little Miss Muffet was eating the freshly set milk (curds and whey).
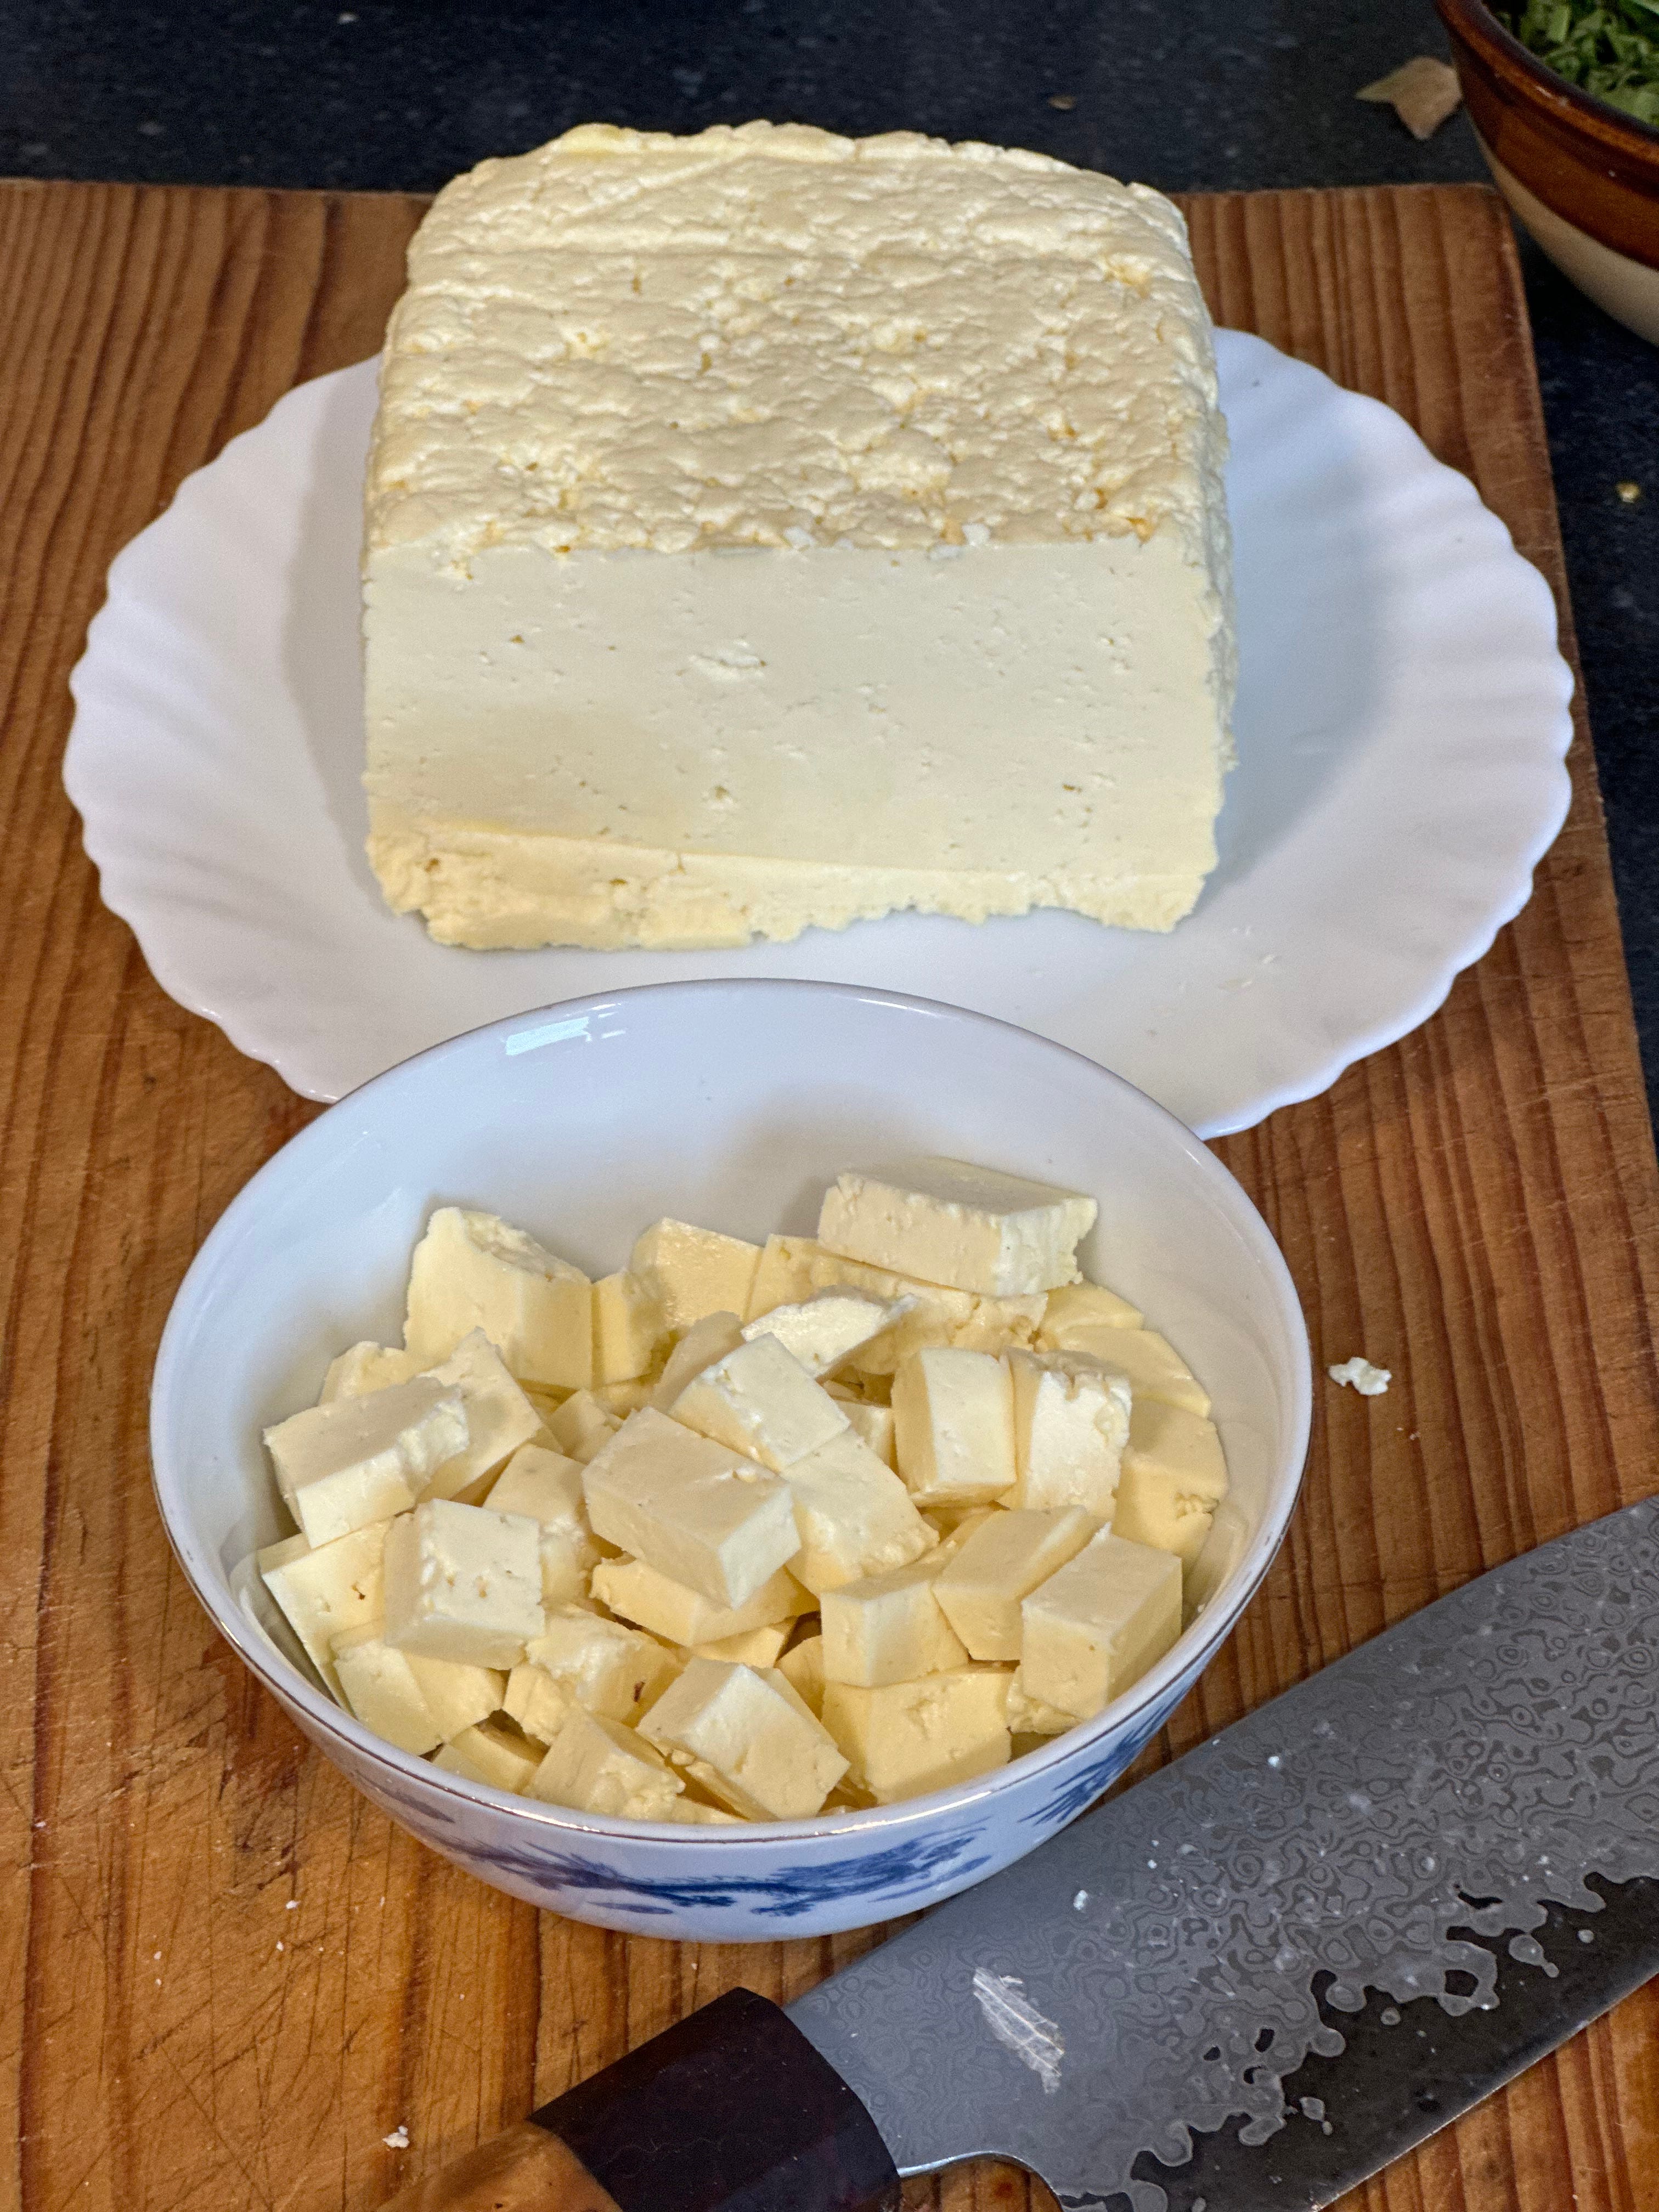
The bowl of curd is then covered and left to sit on the bench all day. In the evening I come back to it. I scoop the curd into cheese baskets using a large holey spoon. The idea is to place the curd into the basket as a slab of curd. This means that the cheese stays quite soft. The smaller you cut the curd, the harder the cheese will be.
The baskets are left to drain on a wire rack set over a large baking dish overnight. In the morning, salt the top of the cheese. A couple of hours later, flip them out of the basket and salt the other side. A sprinkle of cheese is all that’s needed on each side. Leave the cheese to sit on the rack for the rest of the day. That afternoon, you can put it straight in the fridge in covered containers or add it to a jar with herbs and oil. I use fresh herbs from the garden chopped up and a mix of olive oil and sunflower oil. The sunflower oil stops the olive oil from setting hard. Store in the fridge. If you keep the cheese covered with oil, it lasts for a long time. I’m not sure how long, because we eat it, but probably a couple of months.
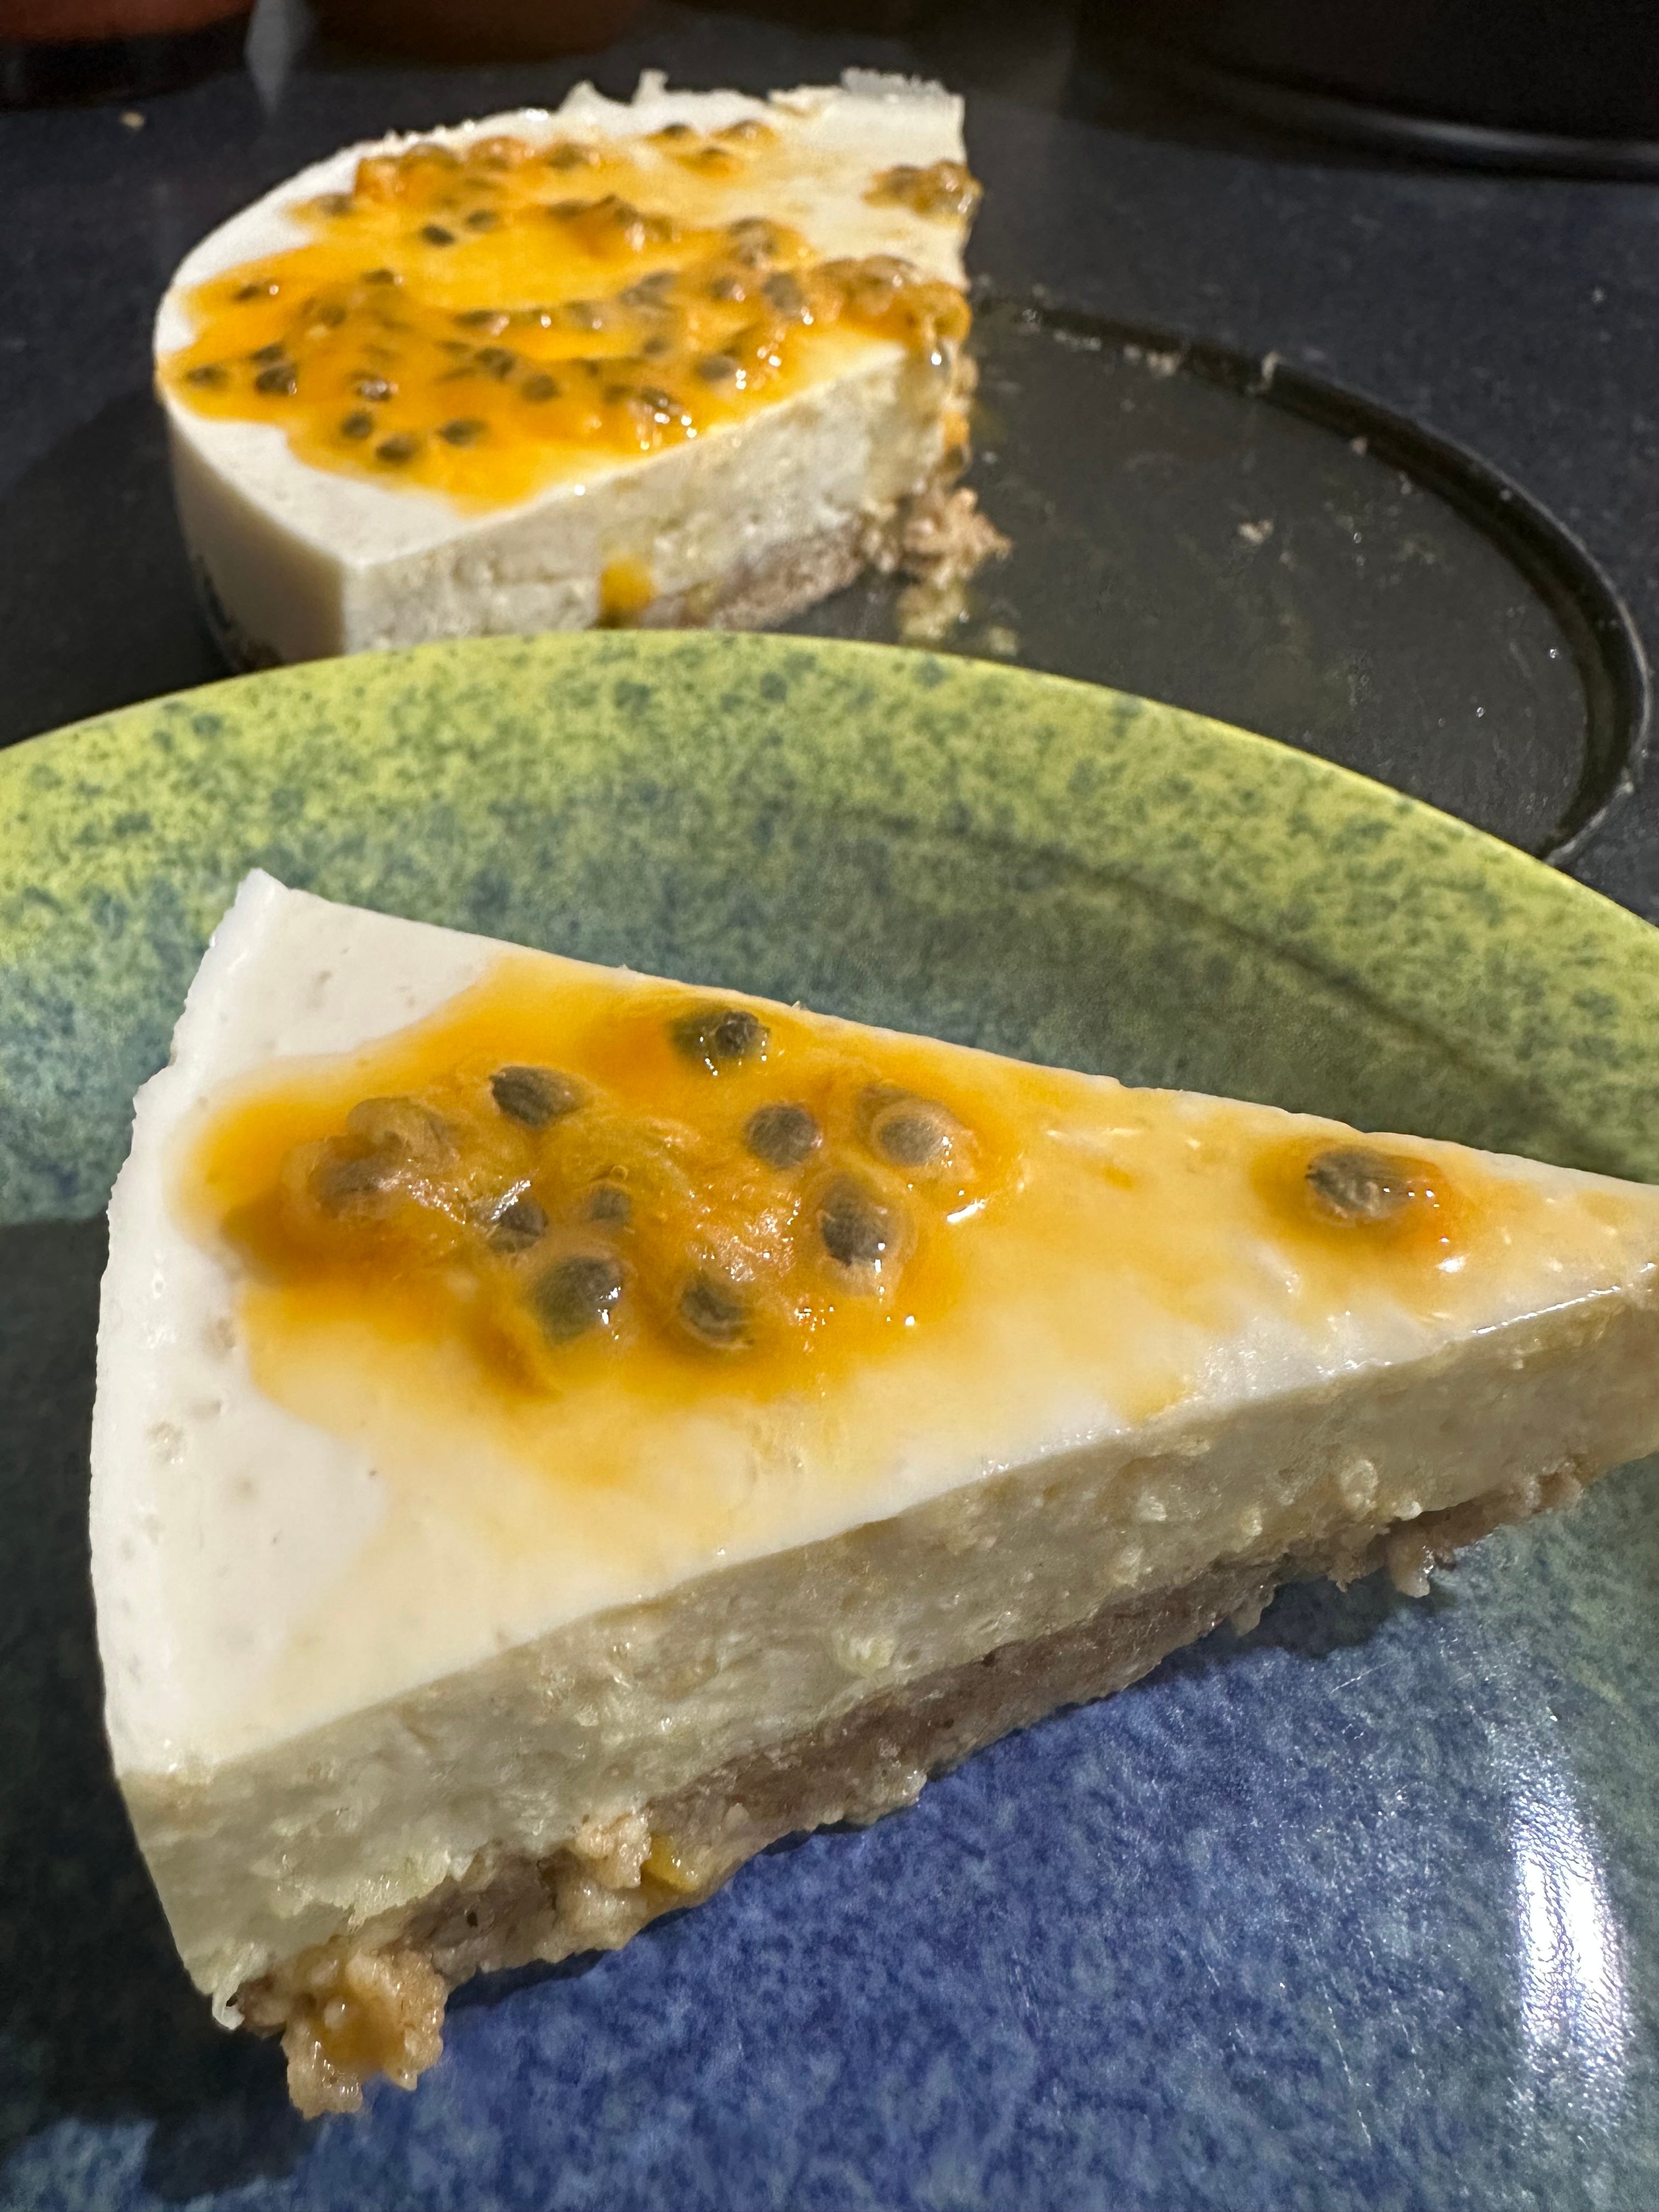
If I plan to make cheesecake with the cheese, I don’t add as much salt. Cheese cake made with fresh cheese is next level delicious! I make a baked cheesecake when I have plenty of eggs and when the chooks are being lazy, I make a set cheesecake with some good quality gelatine. Sometimes I put fruit into the cheesecake and sometimes I put the fruit on top. Sometimes I don’t have fruit, but I do think its nicer with it. For my latest cheesecake, I used passionfruit because a friend gave me a box full the other day. Mango is another favourite - either fresh or preserved.
Recipe for the Cheesecake for you to download:
Recipe for the Curd Cheese for you to download:
Do let me know if you are a cheese maker. What’s your favourite cheese?
I found haloumi my favourite home made cheese. Easy to make and tasty. Alas I haven't made any for a long time.